The Custom Plan for Display Props: Measure, White Model, Velvet Sample — Three Steps to a Locked Version珠宝陈列道具定制方案:量柜、白模、绒样三步定版
The biggest risk in custom display props is a beautiful drawing that falls apart in reality. The counter was never measured properly, so the goods rattle in empty space; the angle was never tested, so customers fumble. To expose every variable before mass production, lock the version in three steps: measure the counter, build a white model, and confirm a velvet sample.
Step one: measure. First the usable width and depth — most counters are not one clean slab: pillars, glass, and light strips take their share, so measure the "real space where goods can sit." Then the heights: how high the display level sits from the floor, whether the goods land in the customer's sight line; for closed counters check shelf spacing, for drawers check depth. Bring the numbers into the drawing — with the proportions right, nothing needs to be redone later.
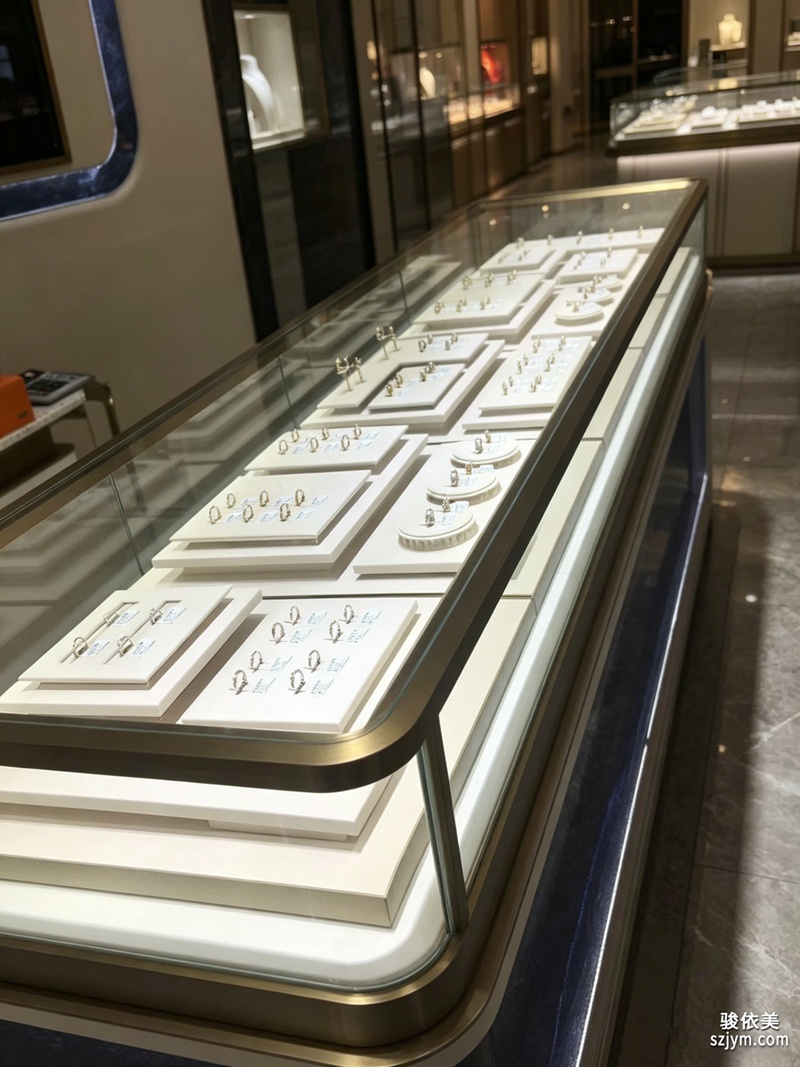
Step two: white model. Build a one-to-one model in acrylic or foam — no velvet, no color — and place it in the counter to verify: is the height right, does the slant feel natural, do rings go in and come out easily, is the base stable. Changes cost the least at this stage — a cut of acrylic costs cents, a new mold costs hundreds of times more; almost every size problem can be stopped here.
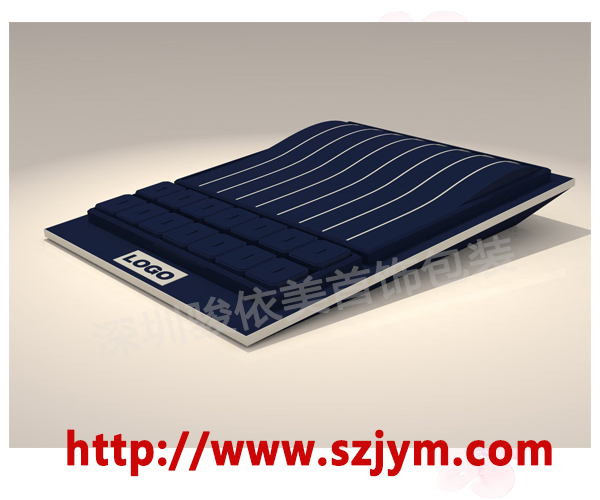
Step three: velvet sample. With the white model approved, choose velvet for the real sample. Match the velvet color to the metal tones — charcoal or black for platinum and white gold, beige or camel for yellow gold — and view the sample under the counter's real lighting. Choose the finish by use: counter samples favor looks, safe-deposit spares favor durability. Once the velvet sample passes, sign and seal it; mass production matches this sample for color and size, and this sealed piece becomes the look of the counter for the year to come.
With these three steps done, the prop is truly "made," not just "arrived." Custom work is not complicated — what counts is a clear acceptance standard at every step: measure to the centimeter, test until it feels right, judge the velvet under the lights. After that, production is just copying.
定制陈列道具最大的风险,是图纸很漂亮、落地全变样。柜台的尺寸没量准,货品放进去空荡荡;角度没试过,客人拿货不顺手。让变数在量产前就暴露出来,靠的是三步定版:量柜、白模、绒样。
第一步,量柜。先量柜台的可用长宽——很多柜台不是一整块平面,立柱、玻璃、灯带都要占位置,要量的是"货品真正能放的空间"。再量高度:陈列位离地多高、货品放上去落在顾客的视线范围,封闭柜注意层板间距,抽屉柜注意深度。量完把尺寸带进图纸,比例对了,后面才不至于返工。
第二步,白模。用亚克力或泡沫板按一比一做出道具的白模,不加绒、不上色,先摆进柜台验证:高度够不够、斜放的角度顺不顺手、戒指放进去取放是否利索、底盘稳不稳。白模阶段改尺寸成本最低,改一刀二十块,改一套模具两百倍;绝大多数尺寸问题,在这一步就能拦住。
第三步,绒样。白模确认后选绒布做正式样:绒色对着货品金属色选,白金配深灰黑绒、黄金配米驼绒,把样品放进真实柜台灯光下看反光;绒面材质按使用场景定,柜台样要视觉优先,保险柜存货样要耐磨防刮。绒样通过后封样签字,批量生产按样对色对尺寸,这一版就是柜台里未来一年卖相的"定版"。
三步定版做完,道具才算是"做好了",而不是"到了货"。定制不复杂,复杂的是把每一步的验收标准写清楚:量柜量到厘米,白模试到顺手,绒样看到灯光下,之后批量只是照着复印。